Hi all!
So I’m over on Paper Crafts Connection today, sharing a few projects made with this little bitty freebie printable I cooked up for the fun of it!
 Yes, that’s really my handwriting you see on it. (If you want, be sure to go the Paper Crafts blog so you can download it. It’s a PDF file so you can open it up easily in Adobe Reader and print it on your home computer’s printer.)
Since so many of us card makers are users of 6″ x 6″ paper pads, I wanted give you a quick tutorial of sorts on how I printed my printable on 6″ x 6″ paper with my home printer.
Here’s what I did.
First, I printed it on standard white printer paper (8 1/2″ x 11″).

I picked out a piece 6″ x 6″ paper I wanted to print it on. (This stuff is from Basicgrey.) Then I turned it over and then placed adhesive on the top and bottom.

I flipped it back over and placed it right on top of my printed paper, over where I printed originally.

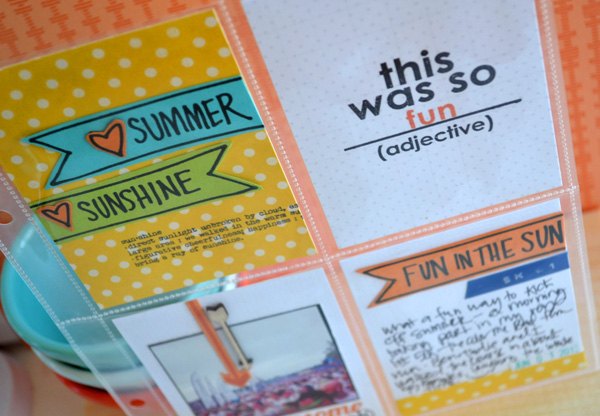
And, just for giggles, here’s how it looked when I held the papers up to my window.

(Yes, that printed piece is really underneath the 6″ x 6″ piece. Couldn’t have you doubting me, you know? Wink!)
So then I ran the paper right through my printer, just like any old other piece of paper.

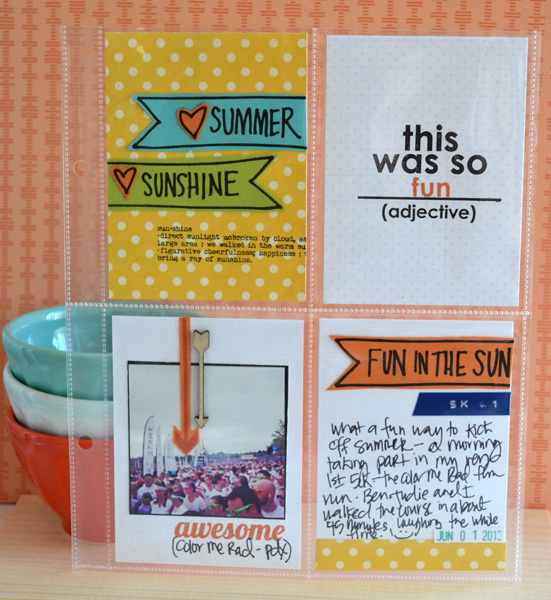
And I got something like this:

Ta-da! Ready to go and be made into a card.
Ok, that’s all I have for you. Be back later, gators! Thanks for stopping by!


